THE MINUTEMAN HF MICRO KIT PART 2
CREATING AN OFFLINE HAM SOFTWARE INSTALL USB & IT'S TWIN
PART 2 OF THE SERIES: THE MINUTEMAN HF MICRO KIT “A LOW COST DIGITAL SYSTEM THAT GETS THE MESSAGE THROUGH”
If you are following along with the series, we now have a freshly re-installed version of Windows 10 Pro Education and have done an OFFGRID restoration of Win10 using our Recovery Disk as well as debloated the Win10 install.
In this post we are going to get the needed software for digital modes installed along with drivers to connect to the tr(uSDX) using the “DigiRig” sound card.
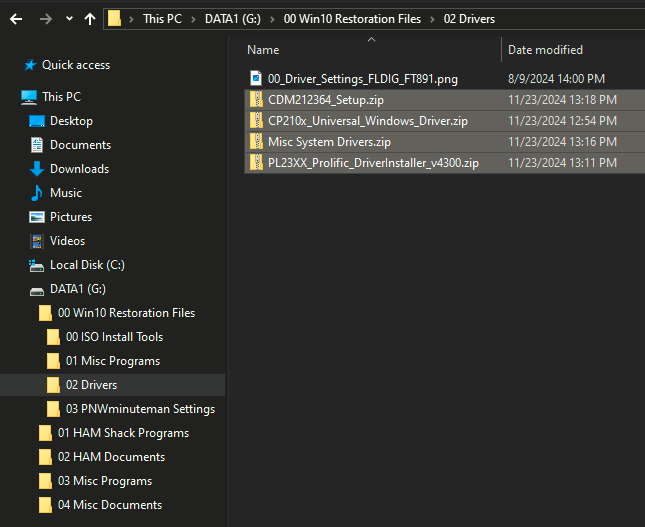
Optionally, I have a bunch of generic drivers I’ve found useful as well as drivers for Prolific cables (used for CHIRP) and FTDI drivers for other software for you to install.
Can’t have too many drivers for offline installs, you may not get to Google and download what you need when things are abnormal in the world.
Like I said, I’ve collected a bunch of “general” drivers as well as the manufacturer specific ones needed and you can use them if you like or do your own research and download your own, but they are on the Proton Drive in the “Misc System Drivers.zip” if you want them. It’s as easy as unzipping the file onto your C:\ and pointing to it when you upgrade a COM port via Device Manager.
Besides installing the following software and accompanying drivers, we will make a mirrored version of our primary install USB (DATA1) to DATA2 using FreeFileSync.
SOFTWARE TO BE INSTALLED
Covering the detailed use of these software packages is beyond the scope of this series, but the software sites have excellent instruction and general information, I highly recommend you read.
Just remember, I’m no expert at any of this, just sharing my experience. Definitive answers are best found on the software creators website.
If someone does complete the build, I will certainly work with them to make a contact with me using the Telegram Group Comms Channel or DMing on TG.
Don’t worry about terms you might not be familiar with like -db ratings and bandwidth, we will get to all that later or you can Google your way to knowledge as I did.
Just know that these three programs IMO are the only ones you would ever need for SHTF Off-Grid Digital Mode EmComms. There are many others, but these are at the forefront these days for good reason.
I don’t use FLDigi myself except to decode CW when I’m bored or listen in on an AmRRON net using the Olivia mode. It has great potential, but none that I see a need for in my EmComms plan.
For me JS8Call is the workhorse for weak signals and VaraAC is the perfect program when propagation allows to have JS8Call type messaging at exponentially faster speeds. Usually above an SNR of -10db is needed for Vara to be stable connection for passing traffic.
DOWNLOAD THE SOFTWARE FILES
FLDIGI SUITE
Take a look at (https://sourceforge.net/p/fldigi/wiki/beginners/#what-is-fldigi) to better understand the program and digital modes in general. Be sure to download all documentation for each program also. Below are the programs you will want.
FLDigi Suite
fldigi/flarq
We will not be covering the use of this program as I hardly know it myself, but is can be used to “listen” and decode CW on the air.
flrig
I use the CAT control on FLRig because it allows several programs to run at the same time without fighting over who has control of the rig. FLRig controls the rig, as the name implies, and JS8Call, VaraAC, FLDigi look to it to send commands to the rig.
flmsg
flamp
JS8CALL
http://files.js8call.com/latest.html
JS8Call
I feel this is the best weak signal program out there as it allows messages to be left and retrieved later on when the use can get time to do it.
It allows leaving messages on other peoples radios for later retrieval.
It’s strength is the ability to get through jamming and poor propagation. I’ve had my 5 watt station decoded at -31db, the advertised number is around -24db as the best to expect.
Updates are very slow and there is a developmental release (3rd party) that I have been using for several months that solves the “Frequency Change” feature not working. It’s on my Proton Drive if you are interested, other than that, the official version is almost identical to the Dev. version.
JS8SPOTTER
https://kf7mix.com/js8spotter.html
JS8Spotter
A helper program for JS8Call that greatly enhances your ability to transfer information while your station is unattended. Meaning you don’t have to sit at your computer listening for information, you can have this program running in the background “scarfing up” information based off key words.
I will show how useful it is when teamed with JS8Call, it allows you to capture a lot of traffic that JS8Call obscures with it’s interface.
VARA
https://rosmodem.wordpress.com/
Vara
Vara is a mode, not a program. You can use it with several programs like Winlink or VaraAC. Download VaraHF at a minimum, but I would grab all the programs on that page for posterity sake.
VARAAC
https://www.varac-hamradio.com/
VaraAC
A very good text based program that works “weak signals” almost as well as JS8Call but at exponentially higher speeds, it also uses a lot wider bandwidth though.
BKTIMESYNC
https://www.maniaradio.it/en/bkttimesync.html
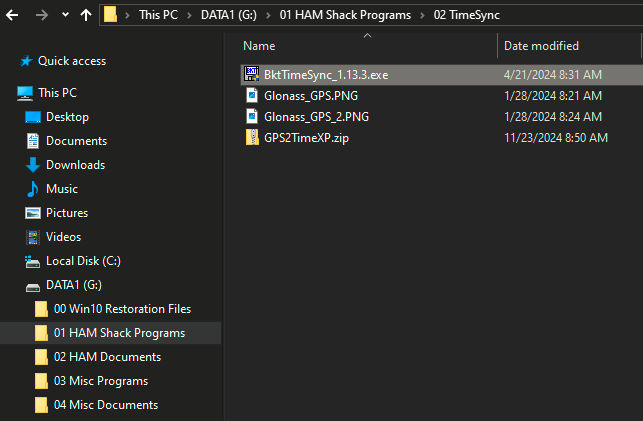
JS8Call requires time synchronization and being as we have an OFF-GRID system, that means we need software to talk to our GPS dongle or learn how to correct our PC clocks in some other way.
I will show you (3) ways to do so using a GPS Watch, GPS Dongle, JS8Call correction and using the NIST on air clock.
It’s amazing how often the PC will get off in time, many times after only a weeks worth of time without a correction being made.
JS8Call in particular starts to fail at decoding messages when over 2 seconds of disparity exists.
I recommend buying one of the GPS Dongles in the Amazon build lists for off-grid time, they are cheap and easy to use with this software.
HAM DRIVERS
DigiRig Drivers (CP210x Universal Windows Driver)
CHIRP Drivers (PL2303 Windows Driver Download USB to UART RS232 Serial)
FTDI Comm Drivers (https://ftdichip.com/drivers/d2xx-drivers/)
Misc System Drivers (collected over time and stored on my Proton Drive)
FILE SYNC APP
CREATE THE DATA1 USB
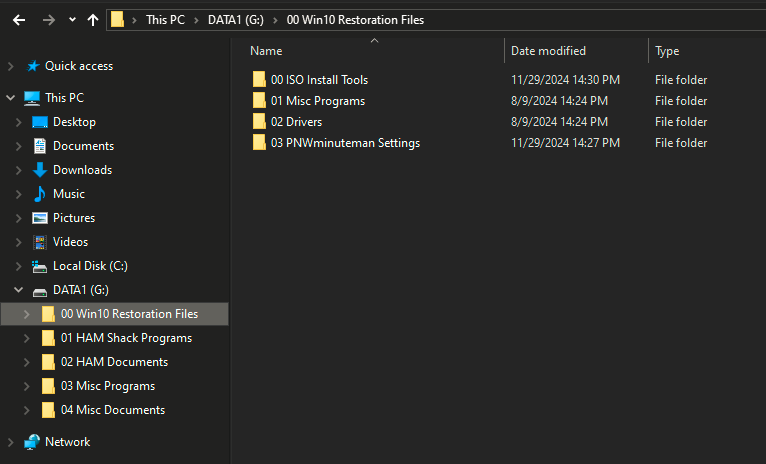
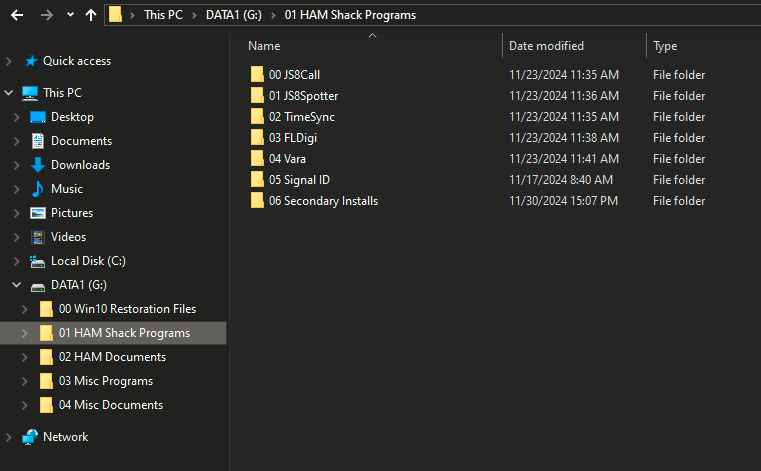
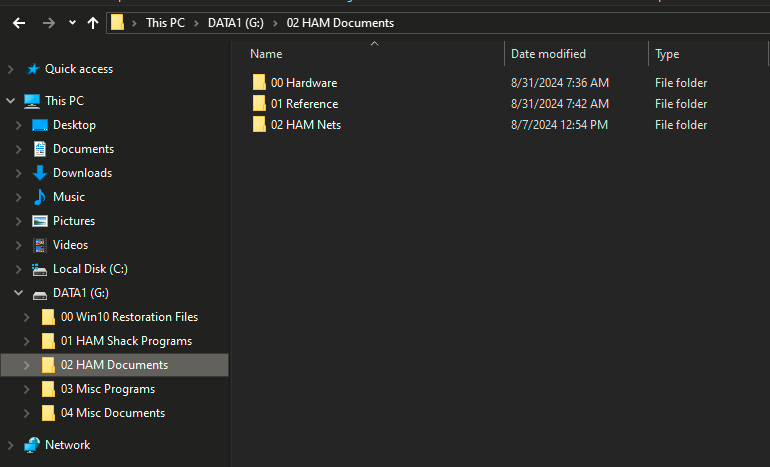
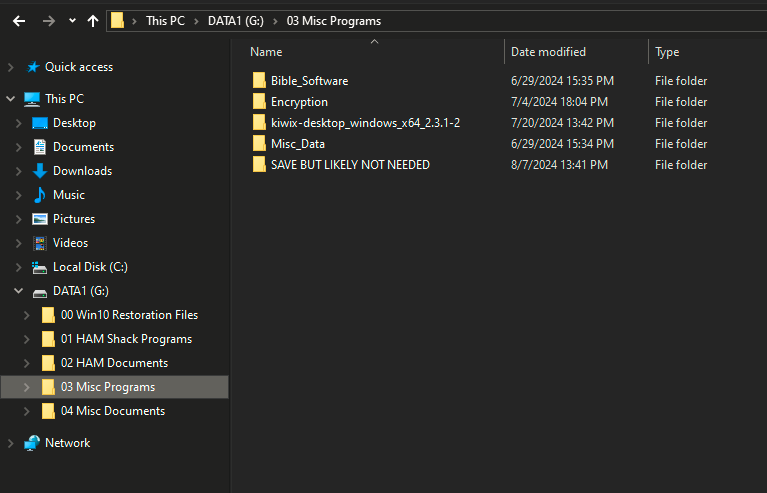
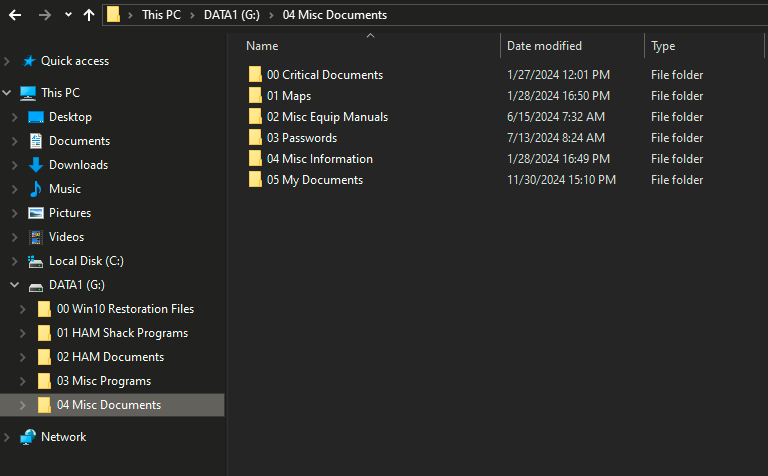
Below is how I structure my Off-Grid Data USB drives. You are welcome to use your own ordering, but I’ve found keeping things were they are easy to find is important to restoring a system. I list my DATA1 Drive contents for the purpose of “a way, not the only way” of doing it.
This directory has the most critical tools for formatting a hard drive and doing a restoration of the Win10 system we have used all these tools in the previous post but they are kept here so that you can create another bootable USB using Ventoy and install a default Win10.iso if you have no working Win10 install on the computer you want to use.
Otherwise you would make a Restoration Disk from that install using the Media Creation Tool like we did in the last post.
HAM software to be added to the box. We will walk through these later in the post.
Reference material for odds and ends related to HAM radio. Software manuals are kept in a sub folder called “Documents” in the software installation directory.
LETS GET TO INSTALLING SHALL WE?
Now that you have downloaded all the software files and put them in the proper directories on your DATA1 USB, it’s time to install them on the laptop.
Some settings can not be done until we have a working radio connected, but we can get the heavy lifting out of the way while we wait for the radio to get here by installing the software and drivers.
INSTALL HAM DRIVERS
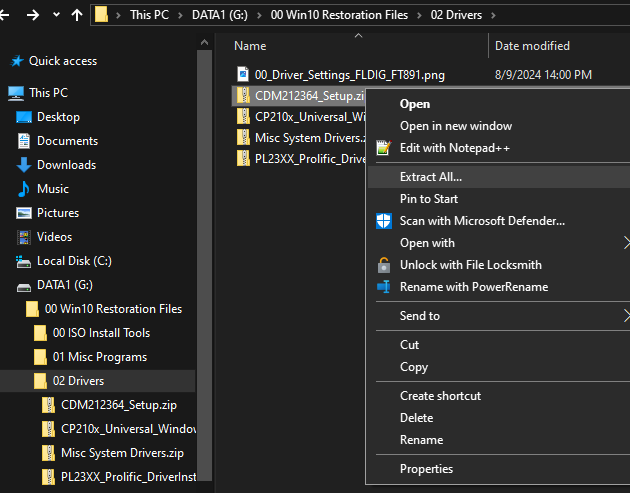
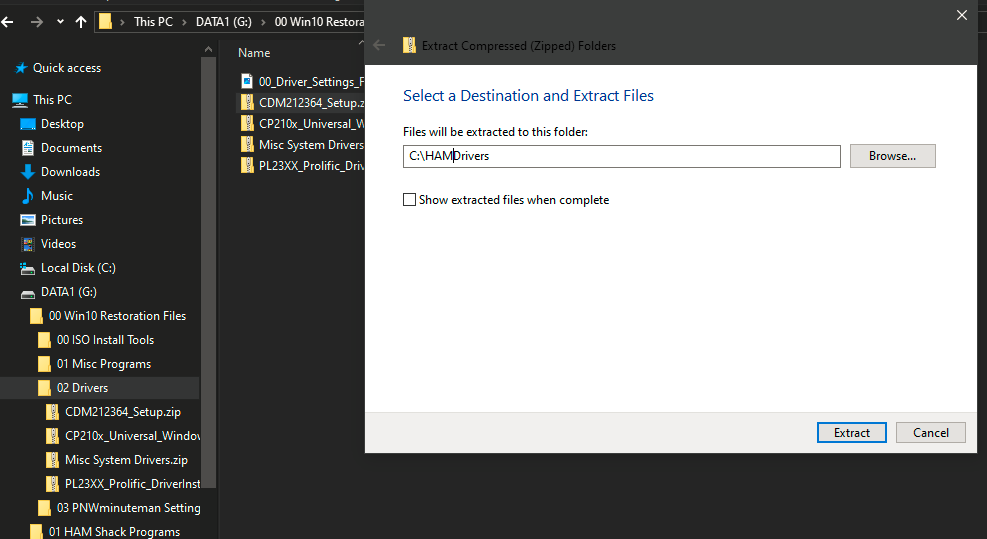
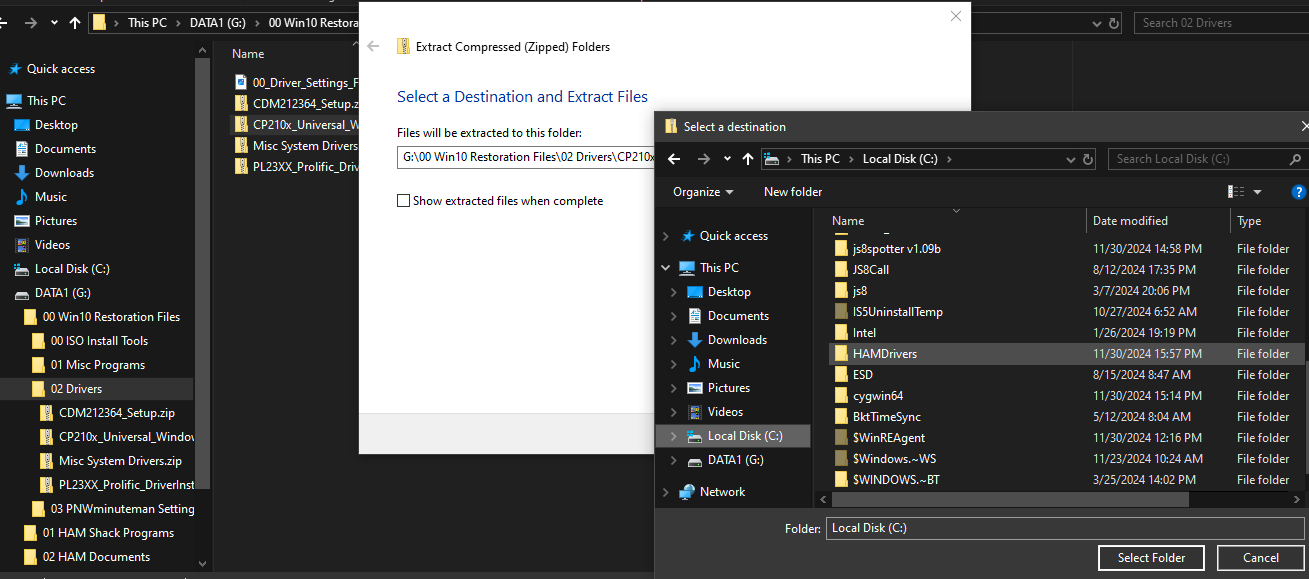
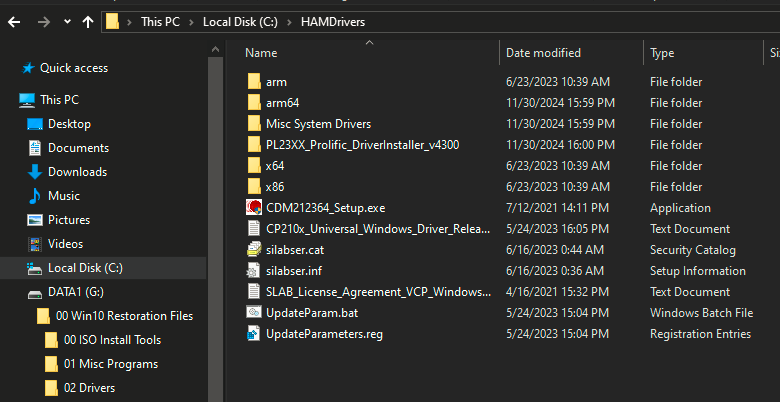
Lets start by extracting all the drivers into C:\HAMDrivers
I prefer to put ALL related drivers in one directory so when I update a device driver I point the OS to one directory on the C:\ and can have the system search the top and sub directories to find what it needs.
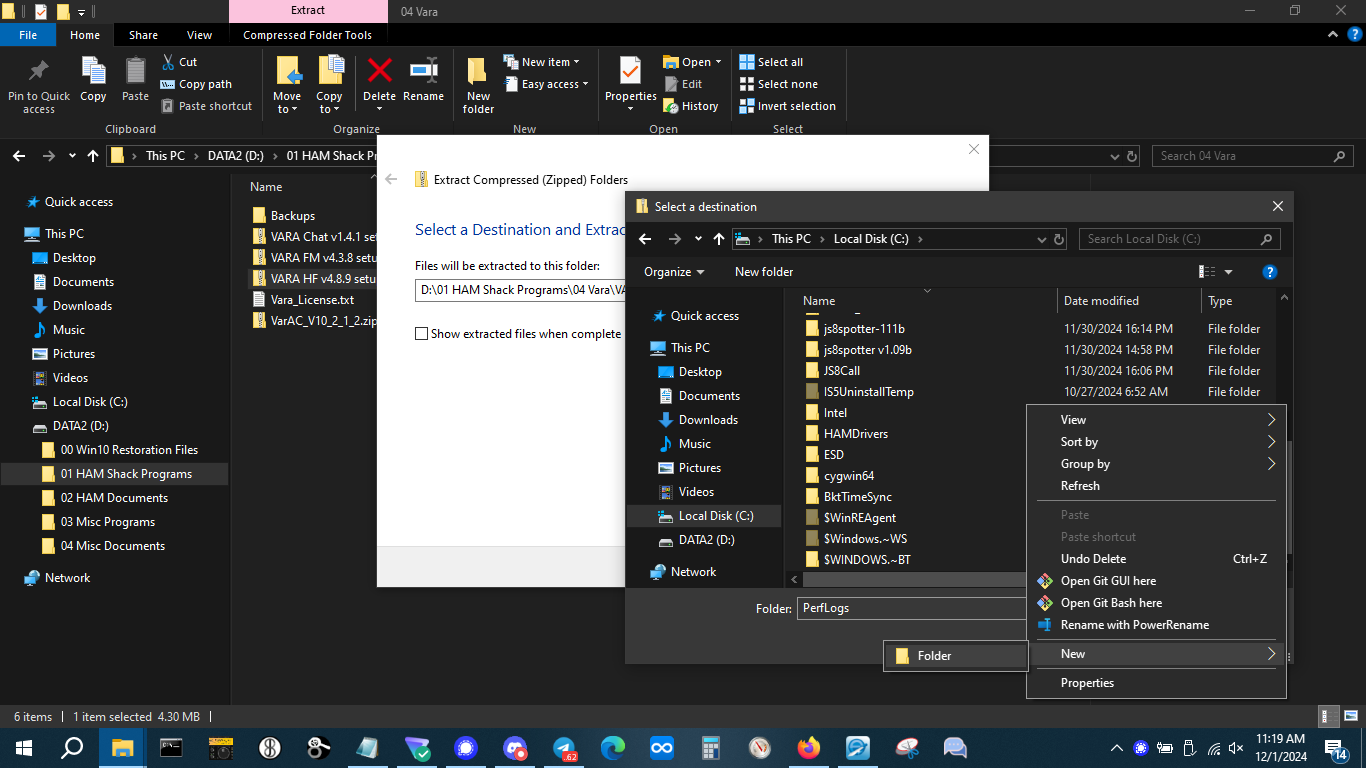
You will need to type the directory in by hand the first time, then you can extract the rest of the zip files under it by browsing to it on the C:\ drive
Now go to the C:\HAMDrivers\ directory and run the following programs:
UpdateParam.bat
CDM21363_Setup.exe
to install their perspective drivers and later when we need to find a driver, we will point the Windows from Device Manager to look in the C:\HAMDrivers directory and it will find what it needs if you have the “Search Sub Directories” box checked.
Yes, I did repeat myself on purpose.
INSTALL JS8CALL
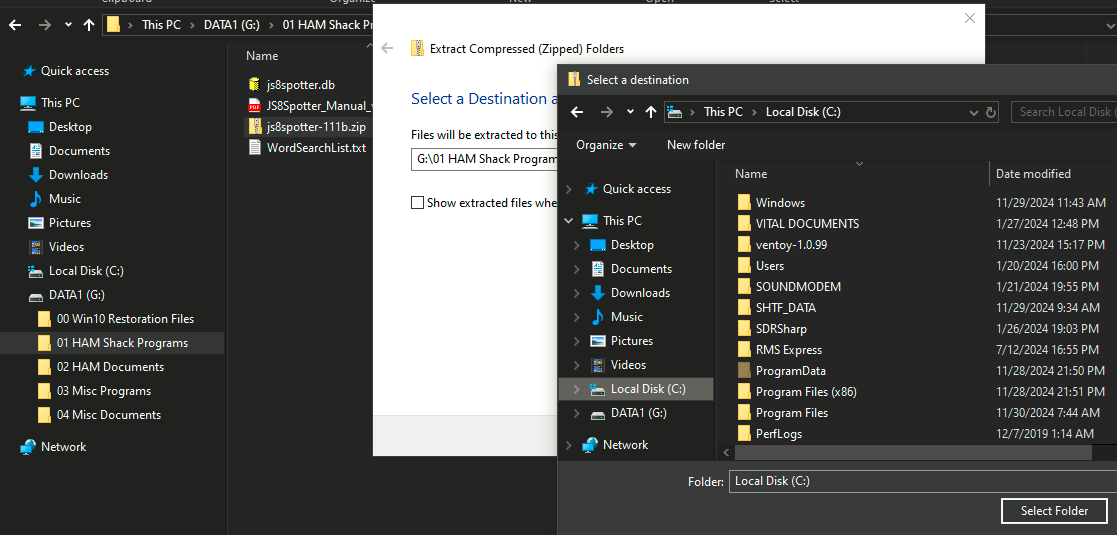
I’m using the Development version, I’ve found it to be reliable and it fixes some issues with the current 2.2.0 official version. It will not affect the build if you use the Official Version from the link provided above. Dealer’s choice.
Double click this .exe file from the USB drive to install JS8Call to the C:\ Drive
*** I leave everything at default for ALL installs if possible. ****
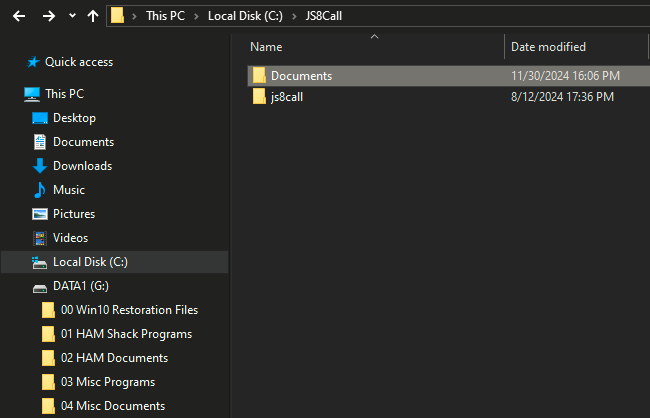
I copy the Documents directory (which I create and put documents for the software in) into the C:\js8call install directory at this point and repeat the process on any such directories that I have manuals for.
Keeping the software specific manuals in the software’s install directory makes it easier to find IME.
The “profile_backup” directory will be used later to keep a current backup of your JS8Call installation so you don’t loose your settings and information for the program if you ever need to re-install it. You can create a directory by this name now on the USB or wait until we address it in a later post.
Eventually my goal will be to make a custom .bat file to automate the process of backing up profile information on ALL apps, but I have to learn how to do that first.
Alternatively, we can use FreeFileSync to do this as part of our backup regiment we will cover later.
INSTALL JS8SPOTTER
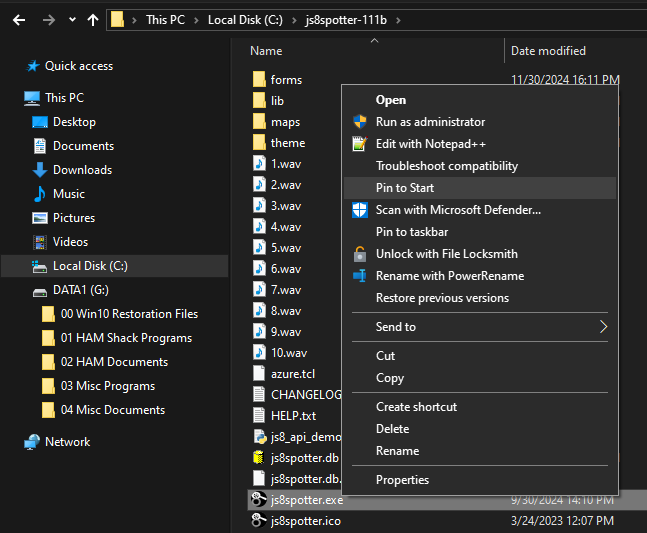
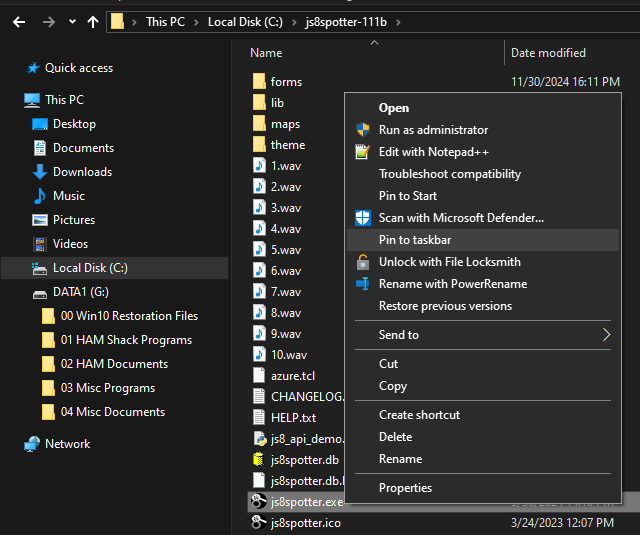
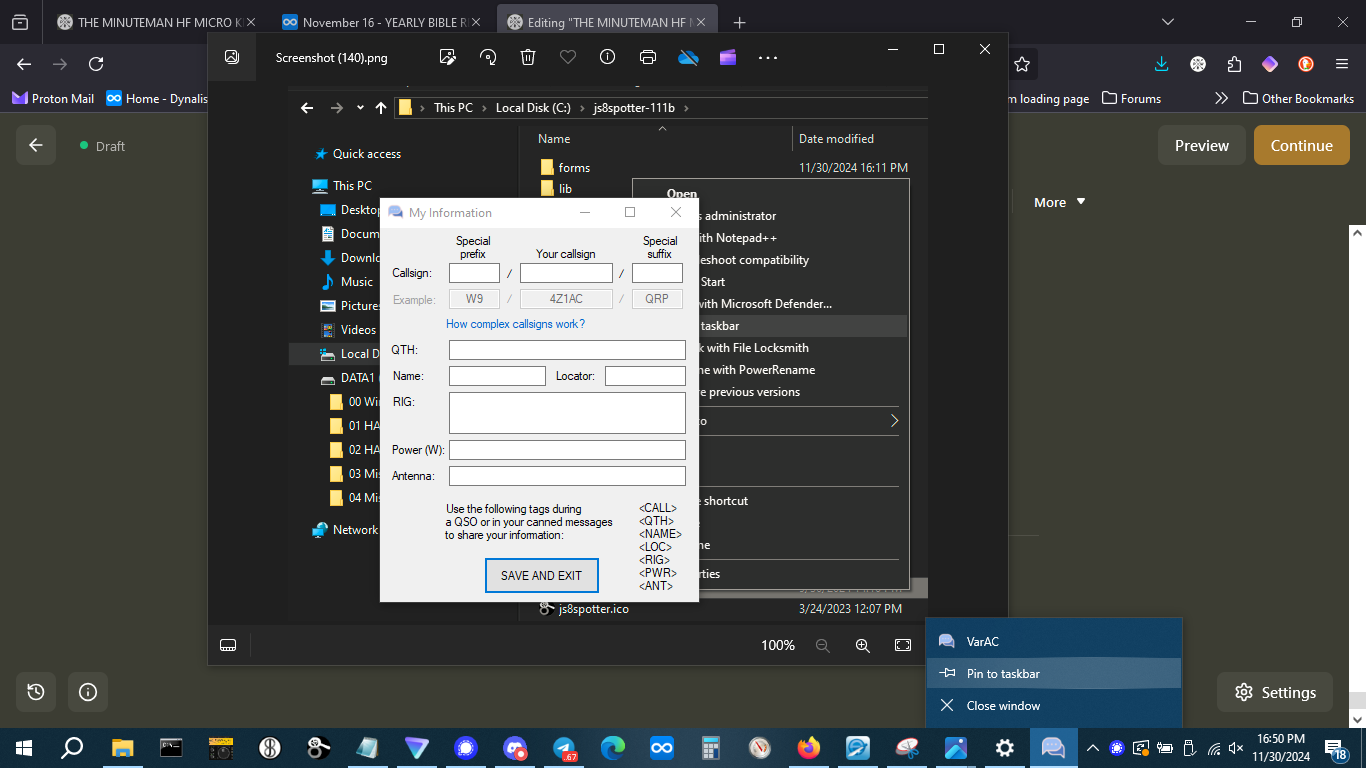
JS8Spotter is a “portable app”, meaning it runs out of one directory and has no “hooks” to use Windows. It does not have an “install” program so you need to create a shortcut to the .exe file and pin it to the Start or Taskbar to make it easy to start each time you want to use it. This is explained farther down the page.
INSTALL BKTIMESYNC
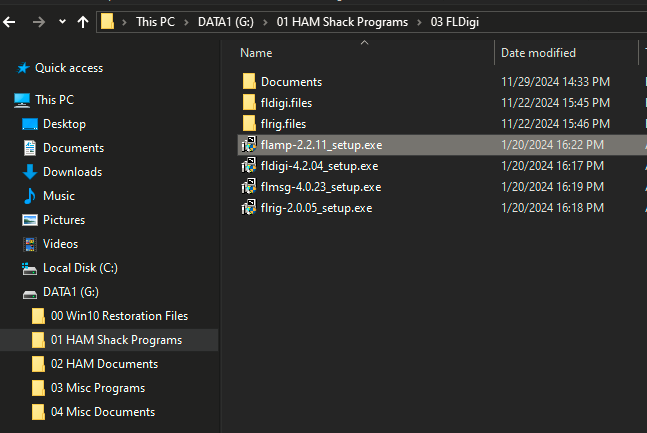
INSTALL FLDIGI SUITE
Double click all apps and install in default locations. Don’t worry about the *.files directories seen below, they are your backup files and will be covered later.
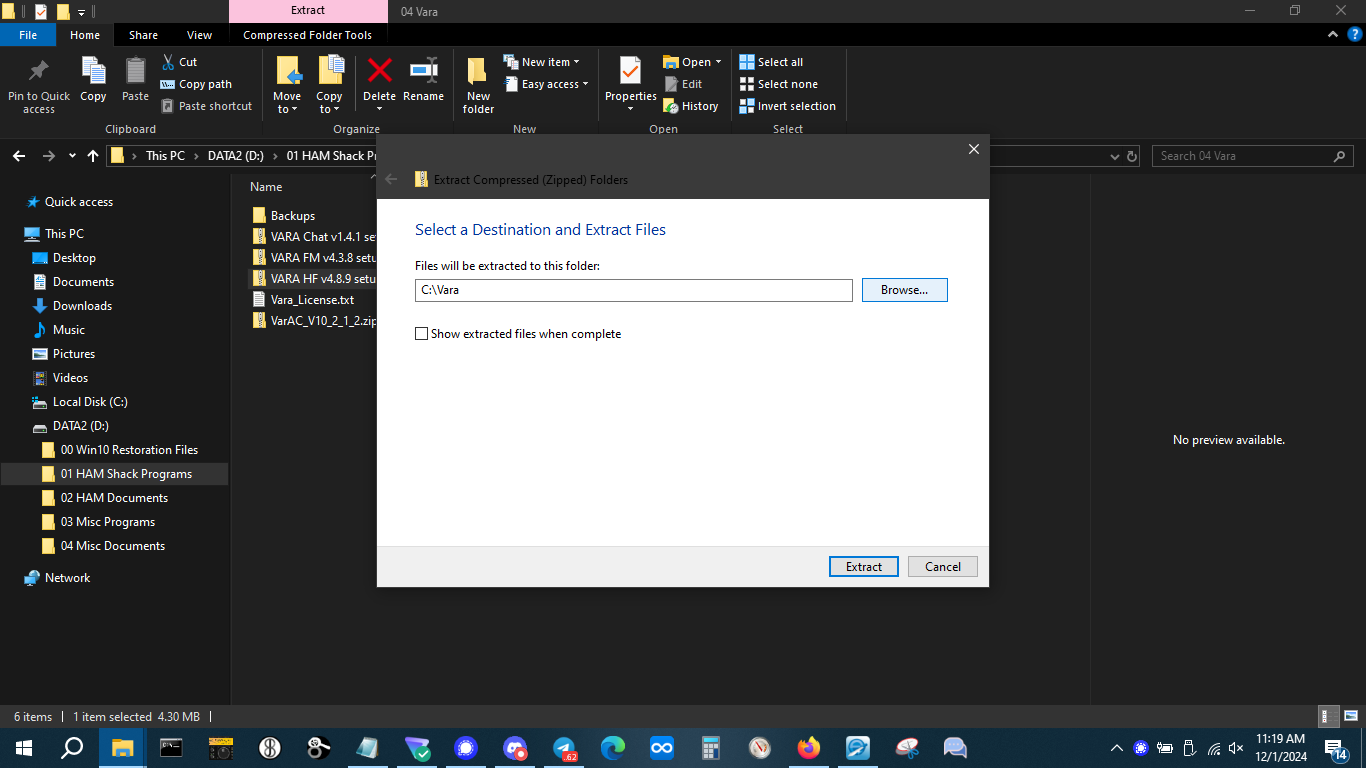
INSTALL VARA AND VARAAC
Double click and install in default locations the following zip files.
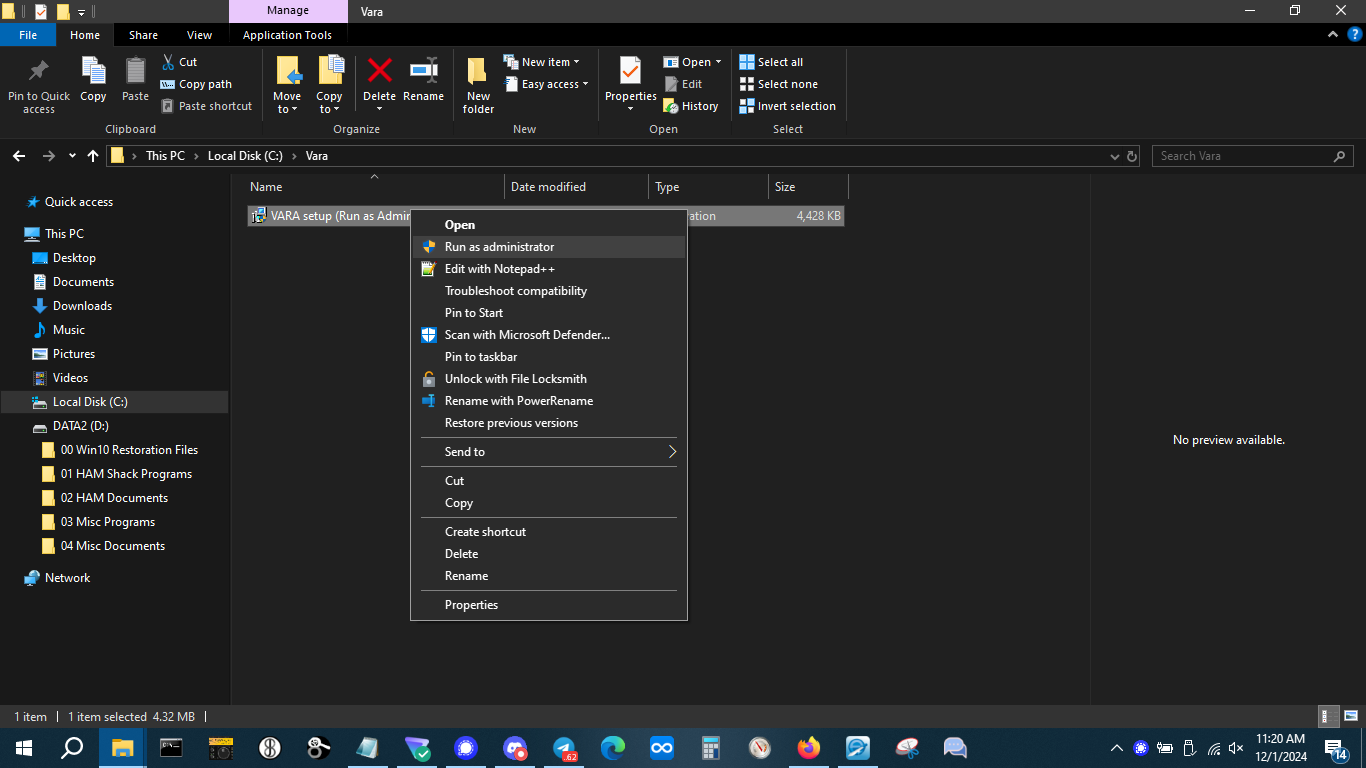
Running the Vara.exe will install the program in the VARA directory you just made. Running VaraAC.exe (As Admin) will ask you where to install the program, choose the VaraAC directory you made.
And that should cover everything we need for now.
MAKING SHORTCUTS
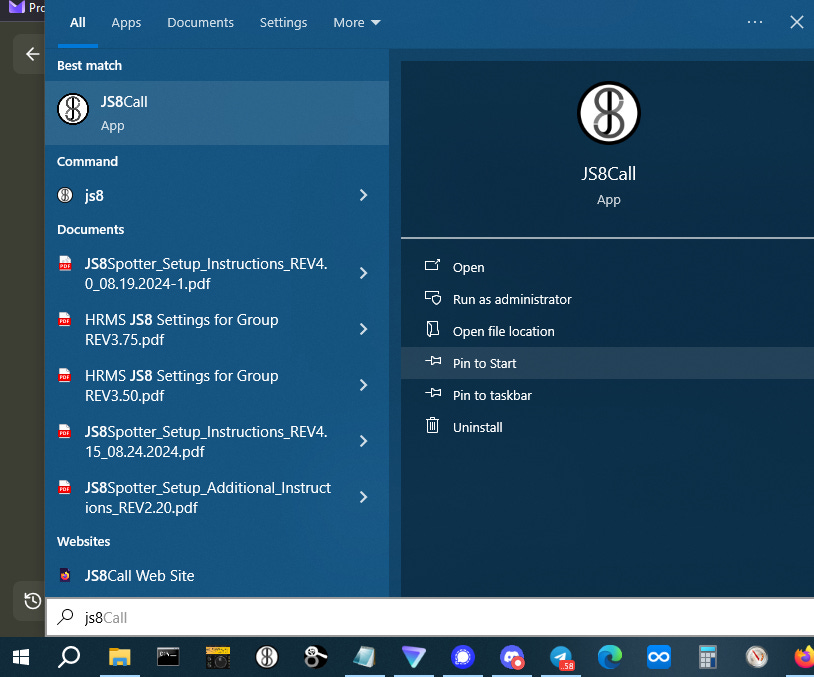
The easiest way to have everything where you need it is to add it to the Start Menu and/or the Taskbar.
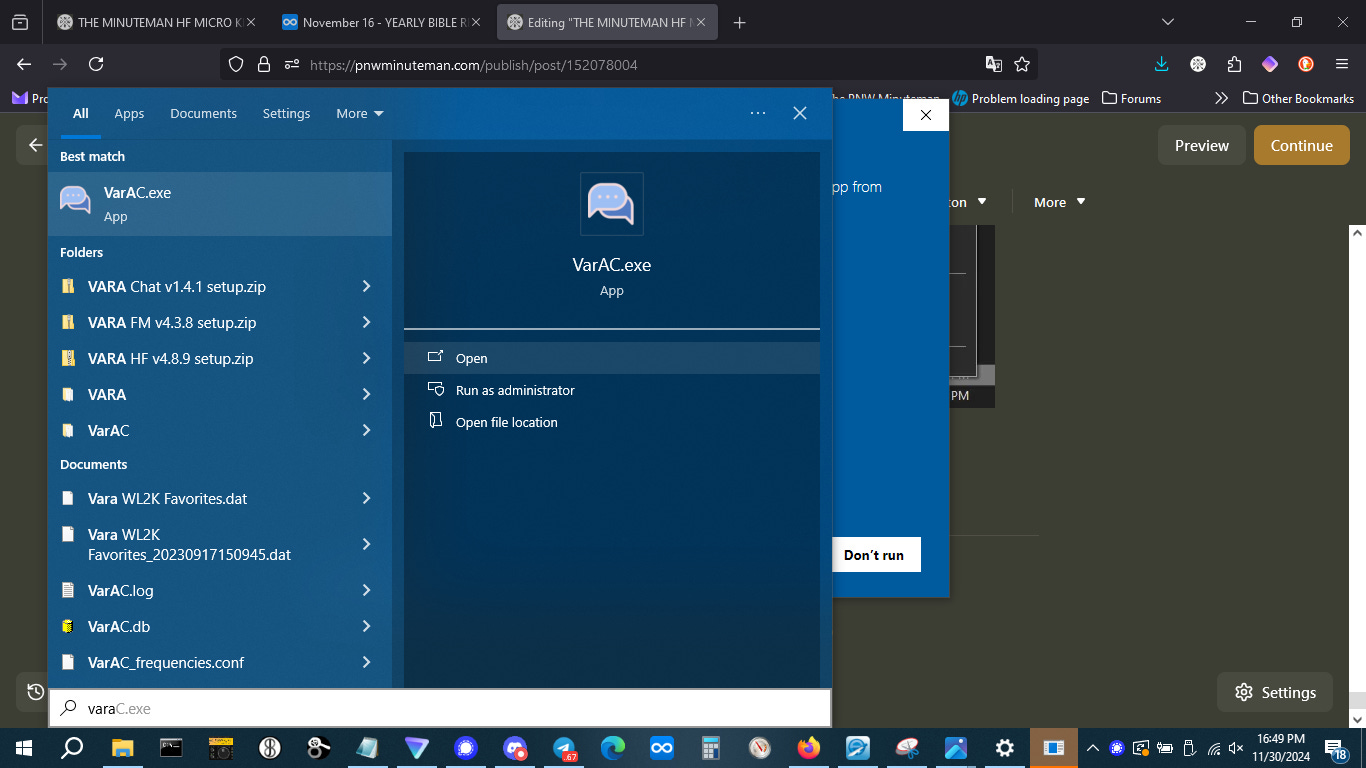
You can do this my searching for the program and left clicking on the option to the right.
Or by finding the executable file on the C:\ drive and right clicking and pinning to Start or Taskbar from the context menu.
You can also start the program and right click on the icon on the taskbar to pin it.
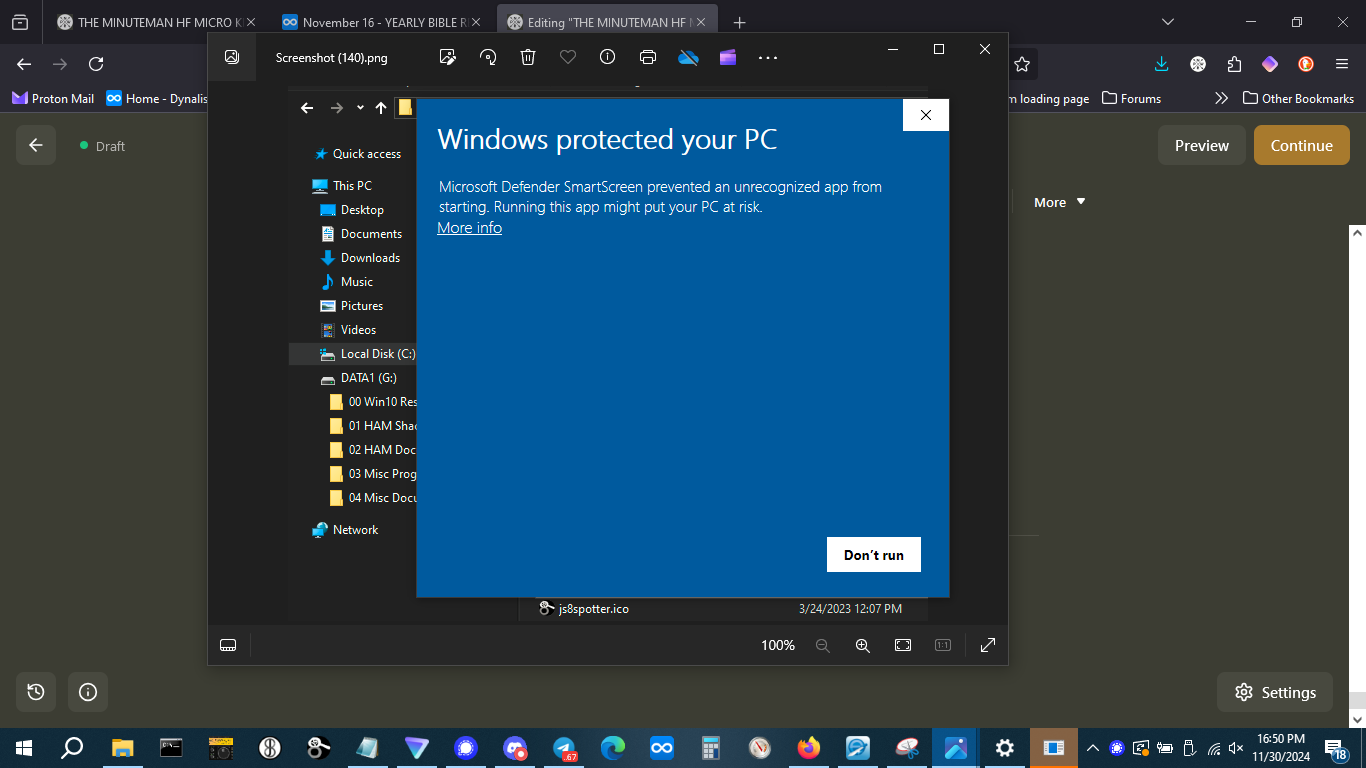
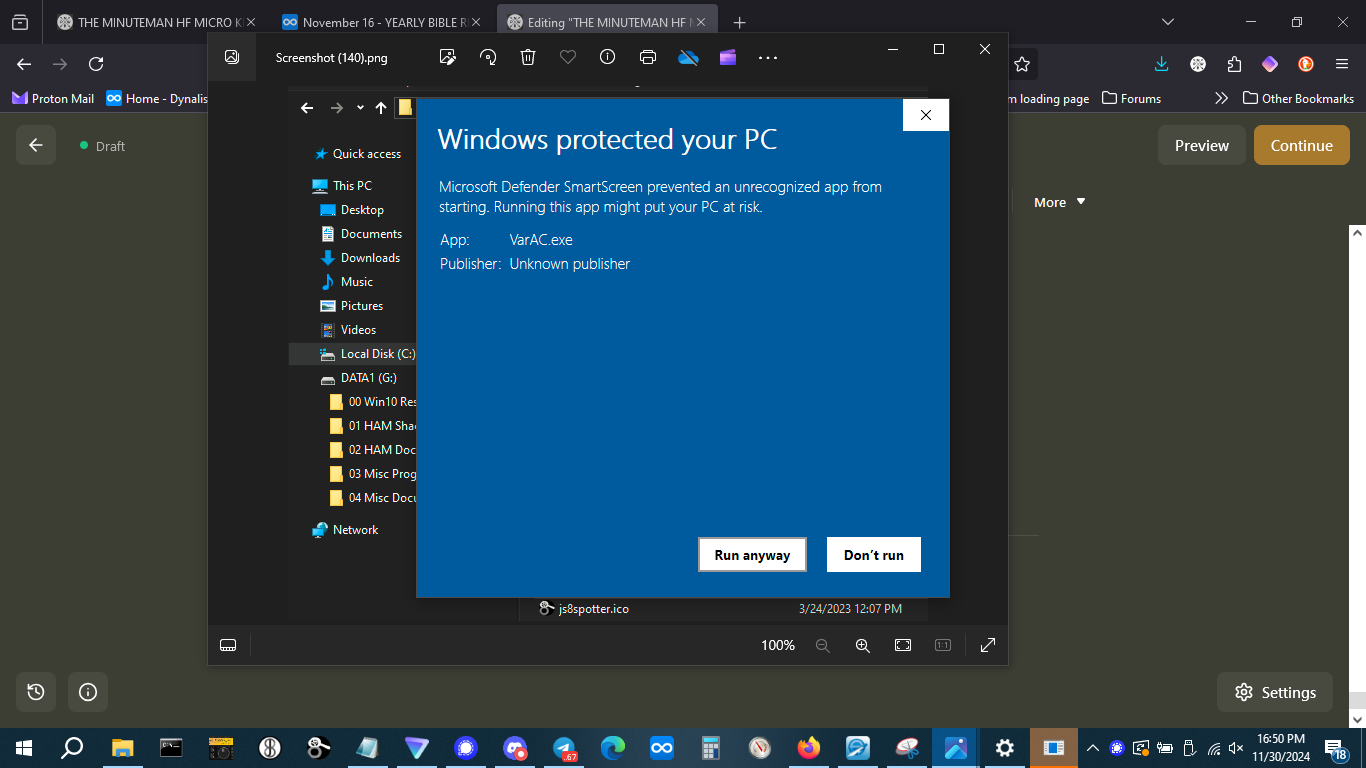
WINDOWS WARNING ON RUNNING VARAAC
The first time you run the VaraAC program Windows might think it’s a dangerous file, click more information and continue.
And that wraps up software install on the laptop.
CREATING A MIRROR OF THE DATA1 USB
Finally, we are going to use a great free utility to MIRROR our DATA1 drive to our DATA2 drive.
Always make edits on DATA1 and MIRROR them to DATA2 after a week or so to make sure you want to keep them.
Having a DATA2 USB that is a week behind in updates is sometimes a life saver if you accidentally delete something off DATA1.
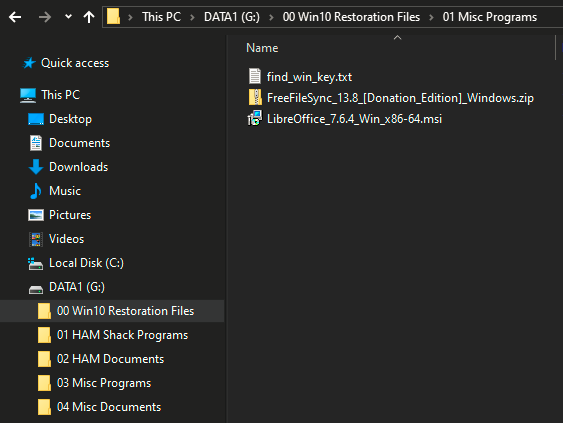
I keep a copy of the program under “DATA1\00 Win10 Restoration Files\01 Misc Programs” along with LibreOffice (a Microsoft alternate) and you can install both directly from the USB with a double click.
FreeFileSync is such a good program it’s worth getting the donation version IMO for the “portable” version that does not require an installer. But for the purposes of this post, the free version works just fine.
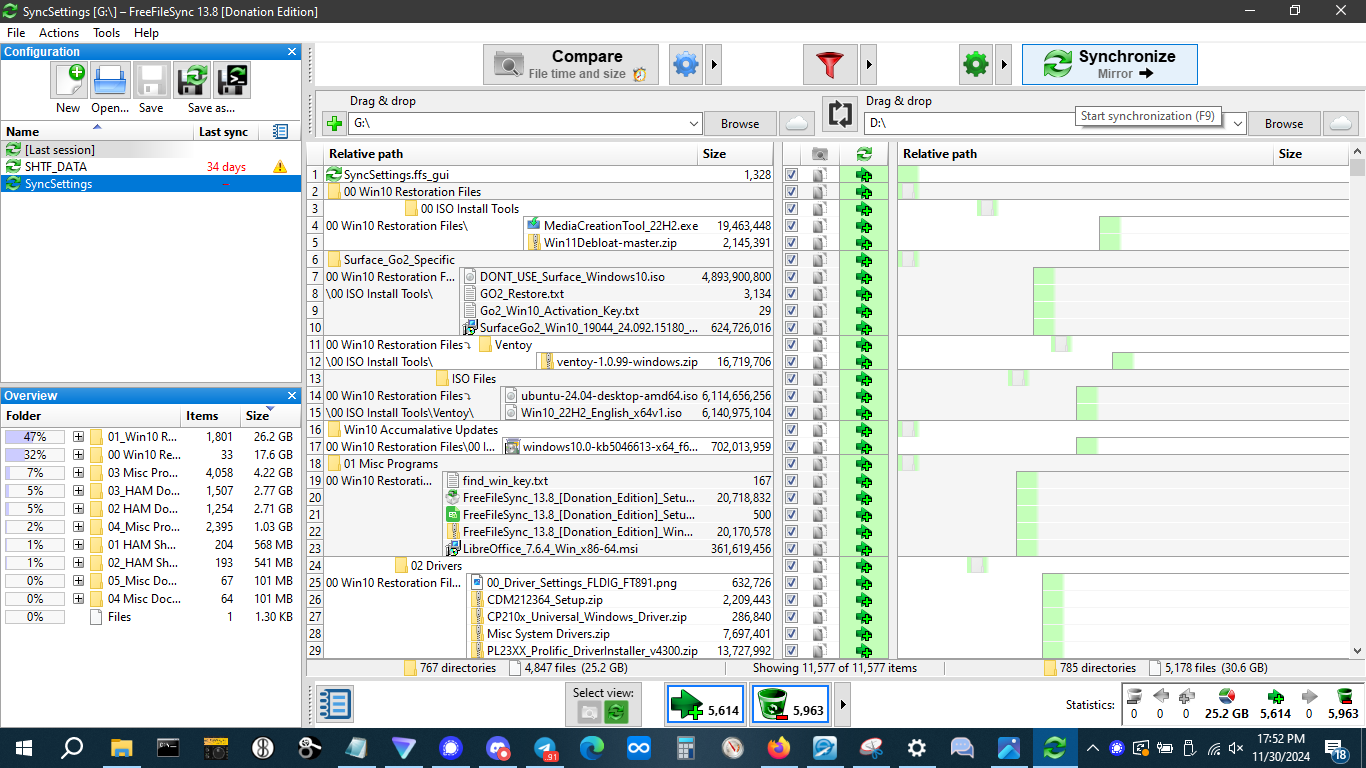
Once you have installed it, it’s pretty straight forward to make a MIRROR copy of DATA1 to DATA2 as shown.
Make sure you know which FOR SURE which drive assignment is for DATA2 as the one being mirrored to and that it’s on the right side of the display.
After selecting the DATA1 drive on the left, select the DATA2 drive for the right, click the drop down “GREEN STAR” to the right of the funnel and select mirror. I do a compare each time to show differences then hit the “Synchronize” button.
CONCLUSION
At this point we should have everything installed to start making digital mode connections on air where HAM software and laptop settings are concerned.
Once we have the radio, there will be some adjustments made to get the correct drivers installed but we should have 99% of the drivers already on the computer now.
In the next segment we will go over the radio Zenier Diode mod to protect the finals on the tr(uSDX) and then how to program the radio with your callsign and set it up.
MY PROTON DRIVE FILES
Let me know if there is anything I need to clarify in this post in the comments, thanks for making it this far! - 73


